
Because most press-on designs aren't transparent, it can be difficult to tell whether you've applied enough liquid glue. One tell-tale sign that you haven't achieved full contact between your natural nail and the press-on is when your nails start popping off prematurely (annoying!). This is a sign that there may be gaps or trapped air bubbles, preventing the adhesive from forming a secure bond with your natural nail.
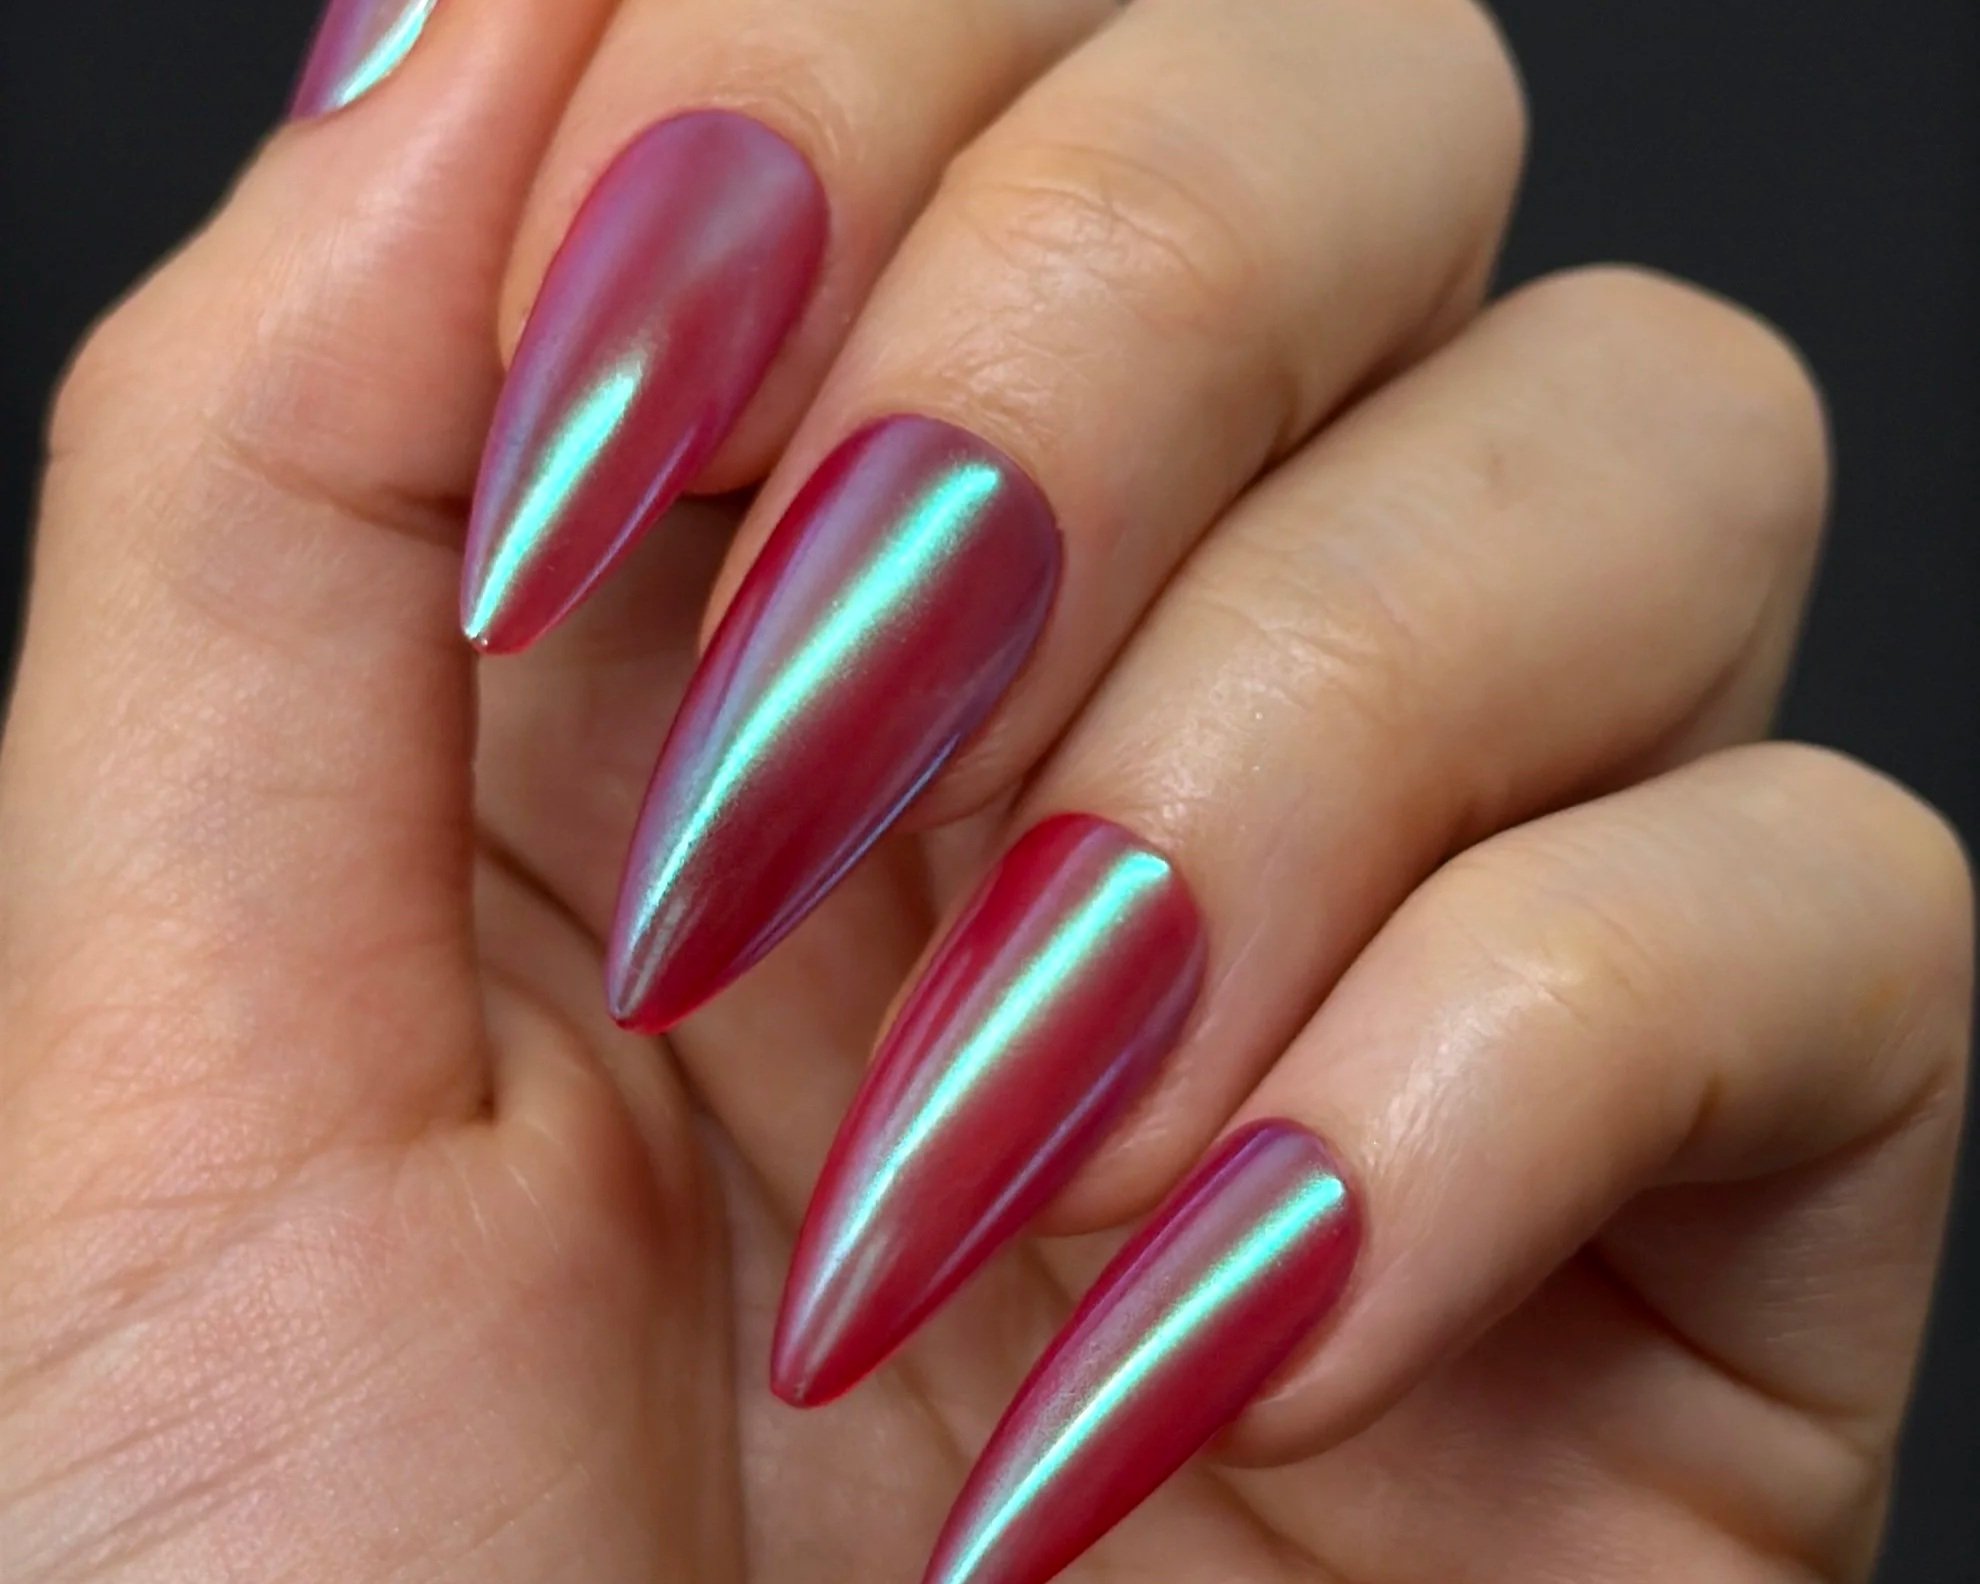
If you have uneven nail beds, or find that you're struggling to eliminate air bubbles, try these little tricks:
Apply glue to both surfaces
Apply a thin layer of glue to your natural nail and the underside of your press-on but avoiding the cuticle area. Be careful not to use too much, as this can cause glue to flood out around the cuticle and sidewalls.
Check for gaps
Before applying, use the press-on to gently swipe the glue across your natural nail, starting at the cuticle and moving towards the tip. This will help spread the glue evenly and reveal any areas where your natural nail isn't making contact. Add a little more glue to any dry spots you find.
Apply at an angle
Avoid applying your press-on flat against your nail. Instead, position it at roughly a 45-degree angle, starting at the cuticle, then slowly lower it towards the tip while applying gentle, even pressure. This helps push out excess air as the glue spreads.
Hold in place
Once in place, press firmly across the nail and hold for around 20–30 seconds. Keep the pressure on and gently roll your finger over the press-on, working from the centre towards the edges. This helps push out any air bubbles and creates secure seal.
Clean up
Use a dry, lint-free wipe to remove any excess glue around the cuticle and sidewalls. Don’t use alcohol to clean up fresh glue because it can leave a white cast. If this does happen, don’t worry it’ll gradually fade.