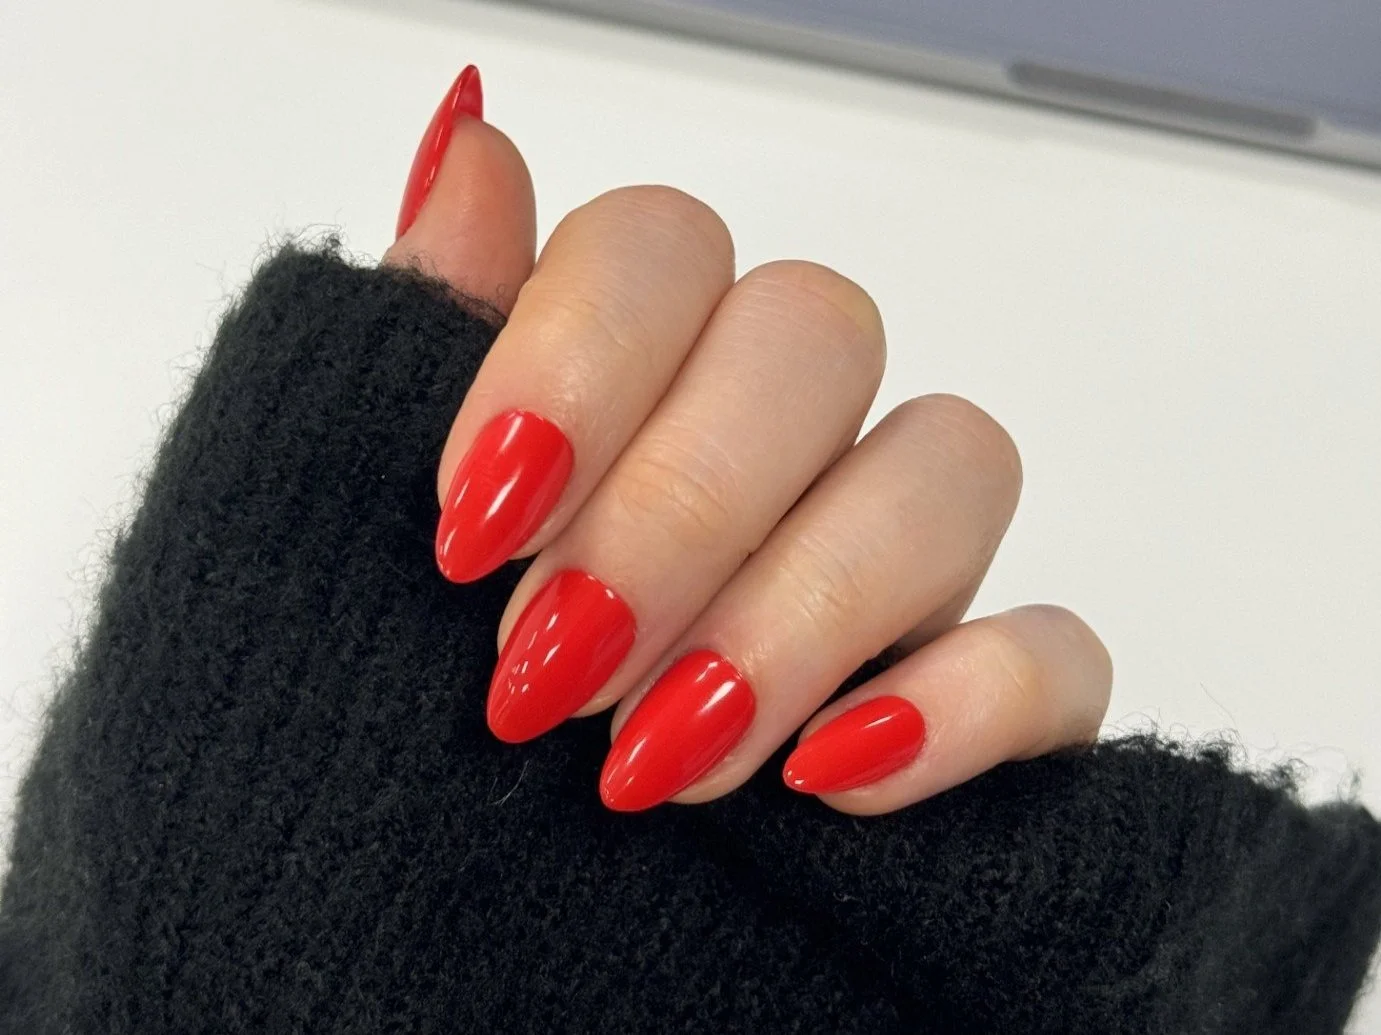
Your nail prep and application routine for long-lasting press-ons
As the saying kind of goes: if you don’t prep, you’re prepping to pop off (or something like that). Either way, it’s true—press-ons will only stick as well as the surface they’re applied to. If you want a flawless, long-lasting wear, it all starts with proper prep.
It’s not hard, and honestly, it becomes second nature the more you do it—like muscle memory, but for nails. Here’s how to get it right, step by step:
1. Natural nails only
Your nails need to be completely clean—no gel, no polish, no builder base. Even clear gel will eventually chip and lift, and if your press-ons are sitting on top of that? They’ll lift right off with it.
2. Trim and file
Trim your nails so they sit just under your press-on length. This keeps them from peeking out underneath (a dead giveaway and not cute). Gently file the edges to smooth things out—no snags, no sharp corners.
3. Clean and dehydrate
Skip water, oils, creams, or serums for at least an hour before application. Trapped moisture = lifting and potential bacteria. Wipe each nail with:
Nail dehydrator (optional but ideal), or
100% acetone or 99% isopropyl alcohol
If your nail beds run oily, use both alcohol and dehydrator for a better prep.
4. Push back cuticles (optional)
Only do this step if you’re comfortable. Gently push back your cuticles with a cuticle stick—this helps prevent premature lifting and gives you more surface area for glue. If you're confident, you can also trim any dead skin with a cuticle nipper for an extra clean finish.
5. Buff the shine off
Lightly buff the surface of your natural nails with a buffer block—just enough to take the shine off. This gives the glue something to hold onto. No need to go hard, a few gentle swipes will do. If it feels warm or sensitive, you’ve done too much.
6. Wipe it down
Use an alcohol wipe to remove any leftover dust or debris. Make sure the nail is clean and completely dry before applying anything else. Debris under the nail can form air bubbles, which compromise the seal and shorten your wear time.
7. Apply your glue
Start with a patch test—especially if it’s your first time. If you notice any irritation, stop and check in with a nail or health pro. Talaskye adhesives are always air-dry only. No UV lamps needed here—gel applications are best left to the pros.
Here’s how to do it based on your adhesive of choice:
Liquid glue: Add a small dot near the base of your nail and gently spread it upward. Avoid flooding the cuticle or sides.
Gel glue: Same technique as liquid—small dot, smooth it up, avoid the edges.
Adhesive tabs: Choose the right size tab, stick it to your nail, press down, then peel off the top layer.
8. Press and seal
Apply your press-on at a 45° angle, starting at the cuticle. Press down and slide forward to the tip, then apply firm pressure all over the nail for about 30 seconds. This helps push out air and lock the glue in place.
9. Keep hands dry
To give the adhesive time to fully bond, avoid getting your hands wet or applying any lotions, oils, or serums for at least an hour after application. The best time to apply your nails is right before bed (after you’ve brushed your teeth and finished your skincare routine), so they can set overnight without interruption.