How to use a sizing kit to measure your nails
A Talaskye sizing kit is the easiest and most accurate way to find your perfect press-on nail sizes. No guessing, no measuring tape—just pop them on and pick your fit.
It’s a small investment that saves you from ordering the wrong size and makes sure your nails feel comfortable, look natural, and stay on longer. Plus, you can keep your kit forever and even let your friends or family use it too.
✨What you’ll need
Your chosen Talaskye sizing kit (in the shape + length you love)
Clean, dry, and product-free nails – any product on your natural nails will impact the measurements
A bit of gentle pressure – like you’re applying the nails in real life
✨ Step-by-step
1. Pick your shape + length
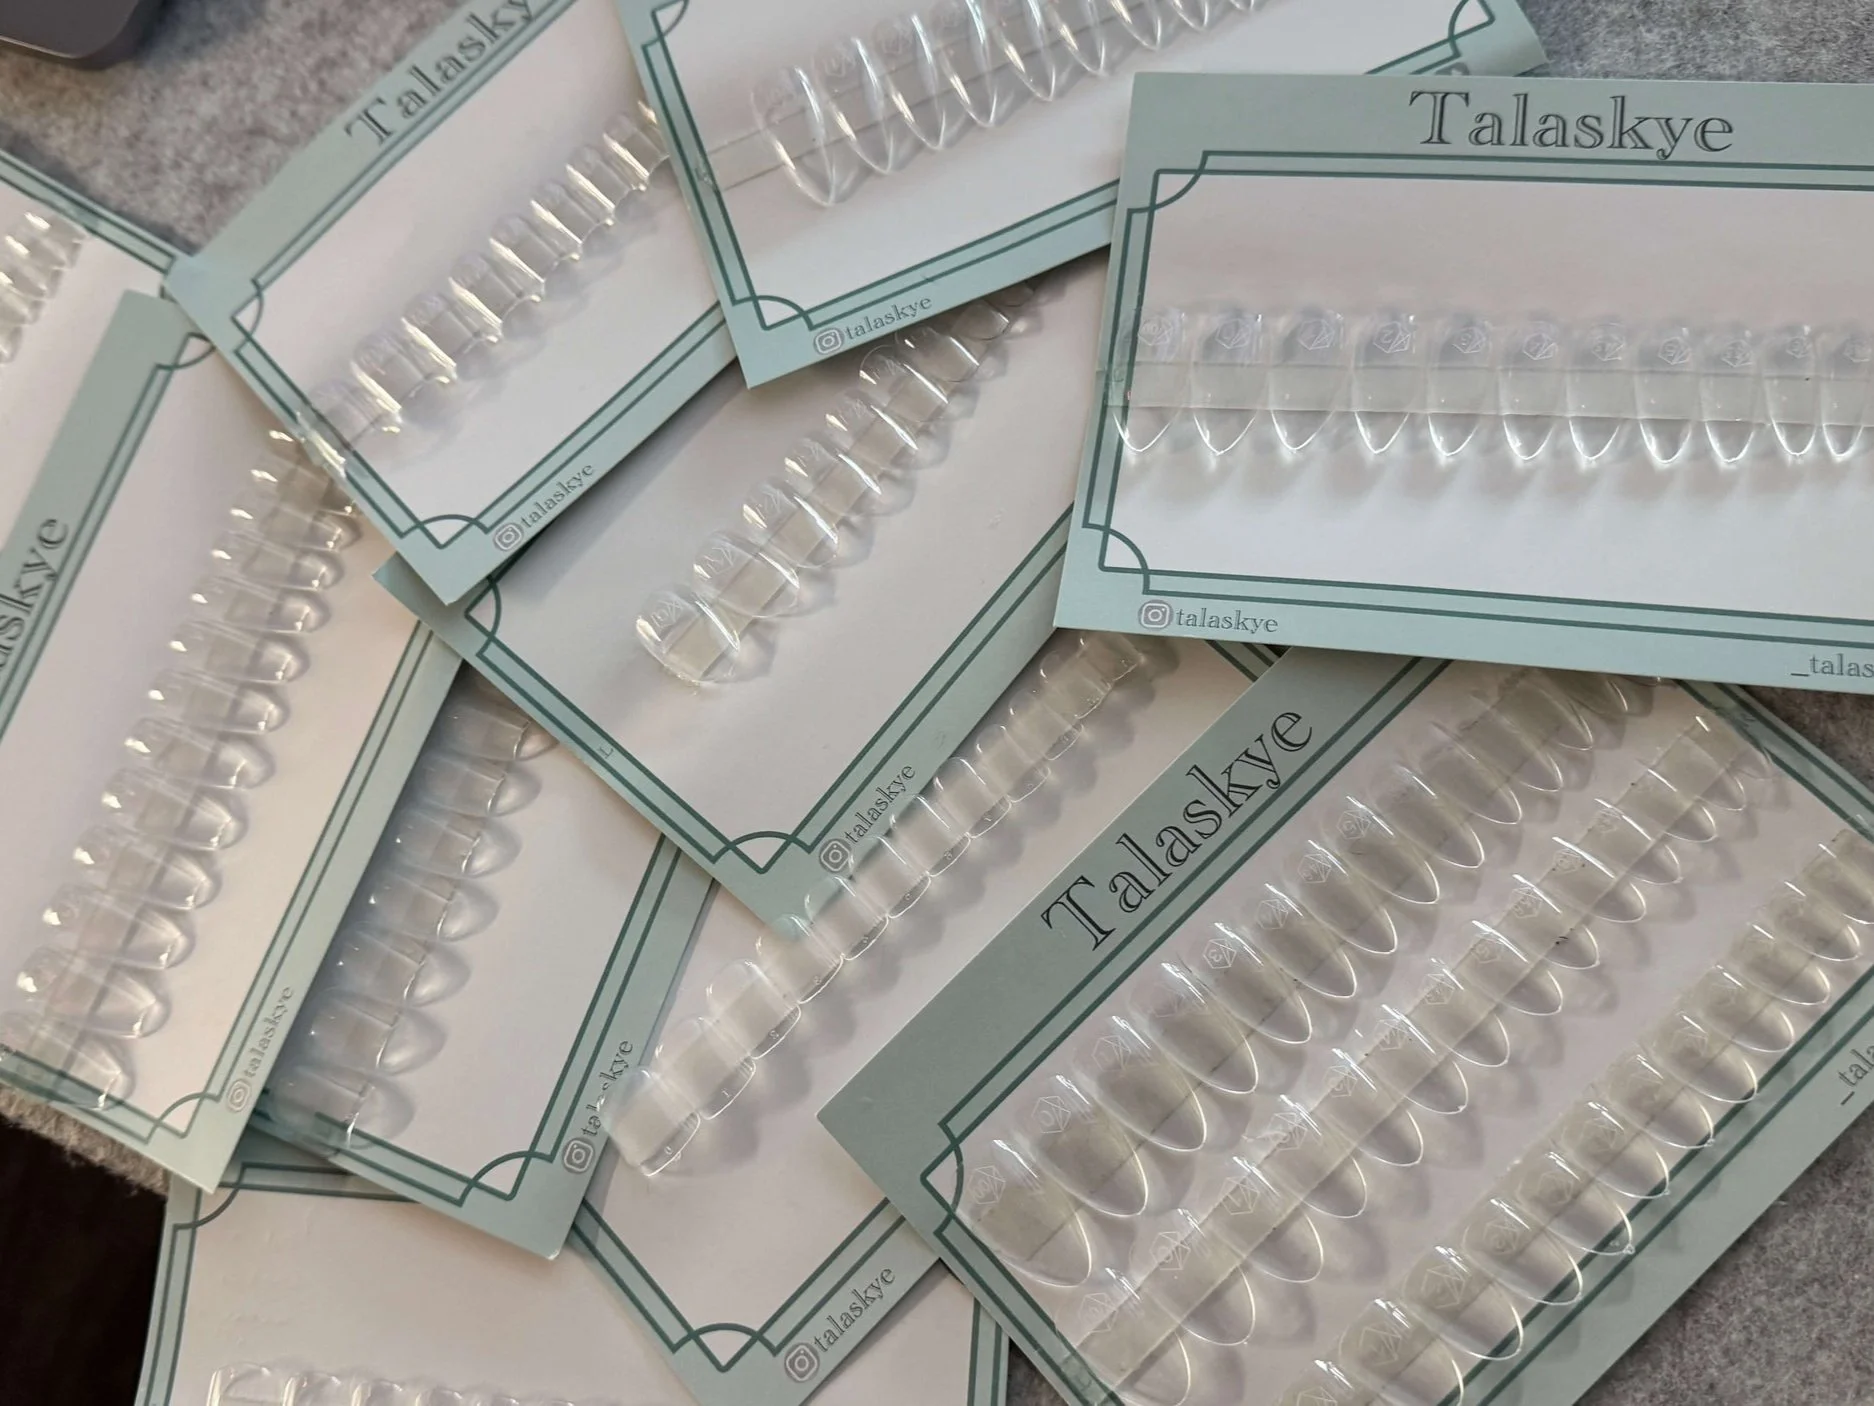
Start by ordering the sizing kit in the shape and length you want. Each kit includes 10–15 sample nails in different sizes, all labeled on the inside of the nail.
💡 Tip: Nail sizes can change between shapes and lengths. A size that fits in almond medium might not be the same in coffin or almond short. For the most accurate fit, use a sizing kit for each new shape and length you want to wear.
2. Clean and trim your nails
Make sure your nails are free of polish, acrylic, gel, or any residue (yes, even clear nail polish). Your natural nails should also be trimmed shorter than the press-on length you’re sizing for—just as if you were about to apply them. This helps you get the most accurate and true-to-fit measurement.
3. Try on each size
One by one, place each sample nail on your natural nail to see which fits best. Every nail is a slightly different, and it’s common to have different sizes for the same finger on each hands—so take your time and measure each finger on both hands.
4. Check the fit (side to side)
The press-on should sit snugly from sidewall to sidewall (that’s the edge of your nail to the other edge). It shouldn’t leave a gap or touch your skin.
5. Apply gentle pressure
Lightly press down, like you’re applying the nail for real. This helps you see how it’ll sit in place.
6. Too tight or too loose?
If it pinches or feels tight: it’s too small.
If it overlaps and touches your skin: it’s too big.
💡 Tip: If you’re between sizes, go up one size and file it down for a perfect fit.
7. Write down your sizes
Note the sizes for each finger so you’re ready to order. It should look like this, thumb to pinky, on both hands:
Left Hand Right Hand
Thumb - 2 Thumb - 2
Pointer - 6 Pointer - 7
Middle - 4 Middle - 3
Ring - 5 Ring - 5
Pinky - 8 Pinky - 8
That’s it! Once you know your sizes, you can order your custom nails.